Xia Shrimp Origami Craft

Learn the art of origami by creating this Letter of the Day-inspired “X” craft!
Materials
Origami Paper (Any Square-Shaped Construction/Wrapping Paper)
Scissors
Tape
Marker
Instructions
Step 1.
Fold your paper in half so that the corners are touching.

Step 1.
Fold your paper in half so that the corners are touching.
Step 2.
Open the piece of paper and fold in one side so that the edge touches the crease. Repeat this step on the other side of the paper.

Step 2.
Open the piece of paper and fold in one side so that the edge touches the crease. Repeat this step on the other side of the paper.
Step 3.
Fold in each side once more.

Step 3.
Fold in each side once more.
Step 4.
Flip the paper over and fold in both sides so that the edge touches the crease. Unfold so that the creases are visible on either side.

Step 4.
Flip the paper over and fold in both sides so that the edge touches the crease. Unfold so that the creases are visible on either side.
Step 5.
Unfold the bottom half of your origami. It should resemble a kite shape.

Step 5.
Unfold the bottom half of your origami. It should resemble a kite shape.
Step 6.
Fold this shape in half along the middle crease to create a triangle.

Step 6.
Fold this shape in half along the middle crease to create a triangle.
Step 7.
Flip your triangle, and cut a small hole towards the end of the right-most corner.

Step 7.
Flip your triangle, and cut a small hole towards the end of the right-most corner.
Step 8.
Flip your triangle again, this time cutting a thin slit up the triangle, leaving about 1.5 inches at the top. Be careful to not cut all the way up!

Step 8.
Flip your triangle again, this time cutting a thin slit up the triangle, leaving about 1.5 inches at the top. Be careful to not cut all the way up!
Step 9.
Open the triangle and feed the strings from your cut through the hole.

Step 9.
Open the triangle and feed the strings from your cut through the hole.
Step 10.
Re-fold the top 2 flaps along the crease you created. You will start to see a shrimp-like shape!

Step 10.
Re-fold the top 2 flaps along the crease you created. You will start to see a shrimp-like shape!
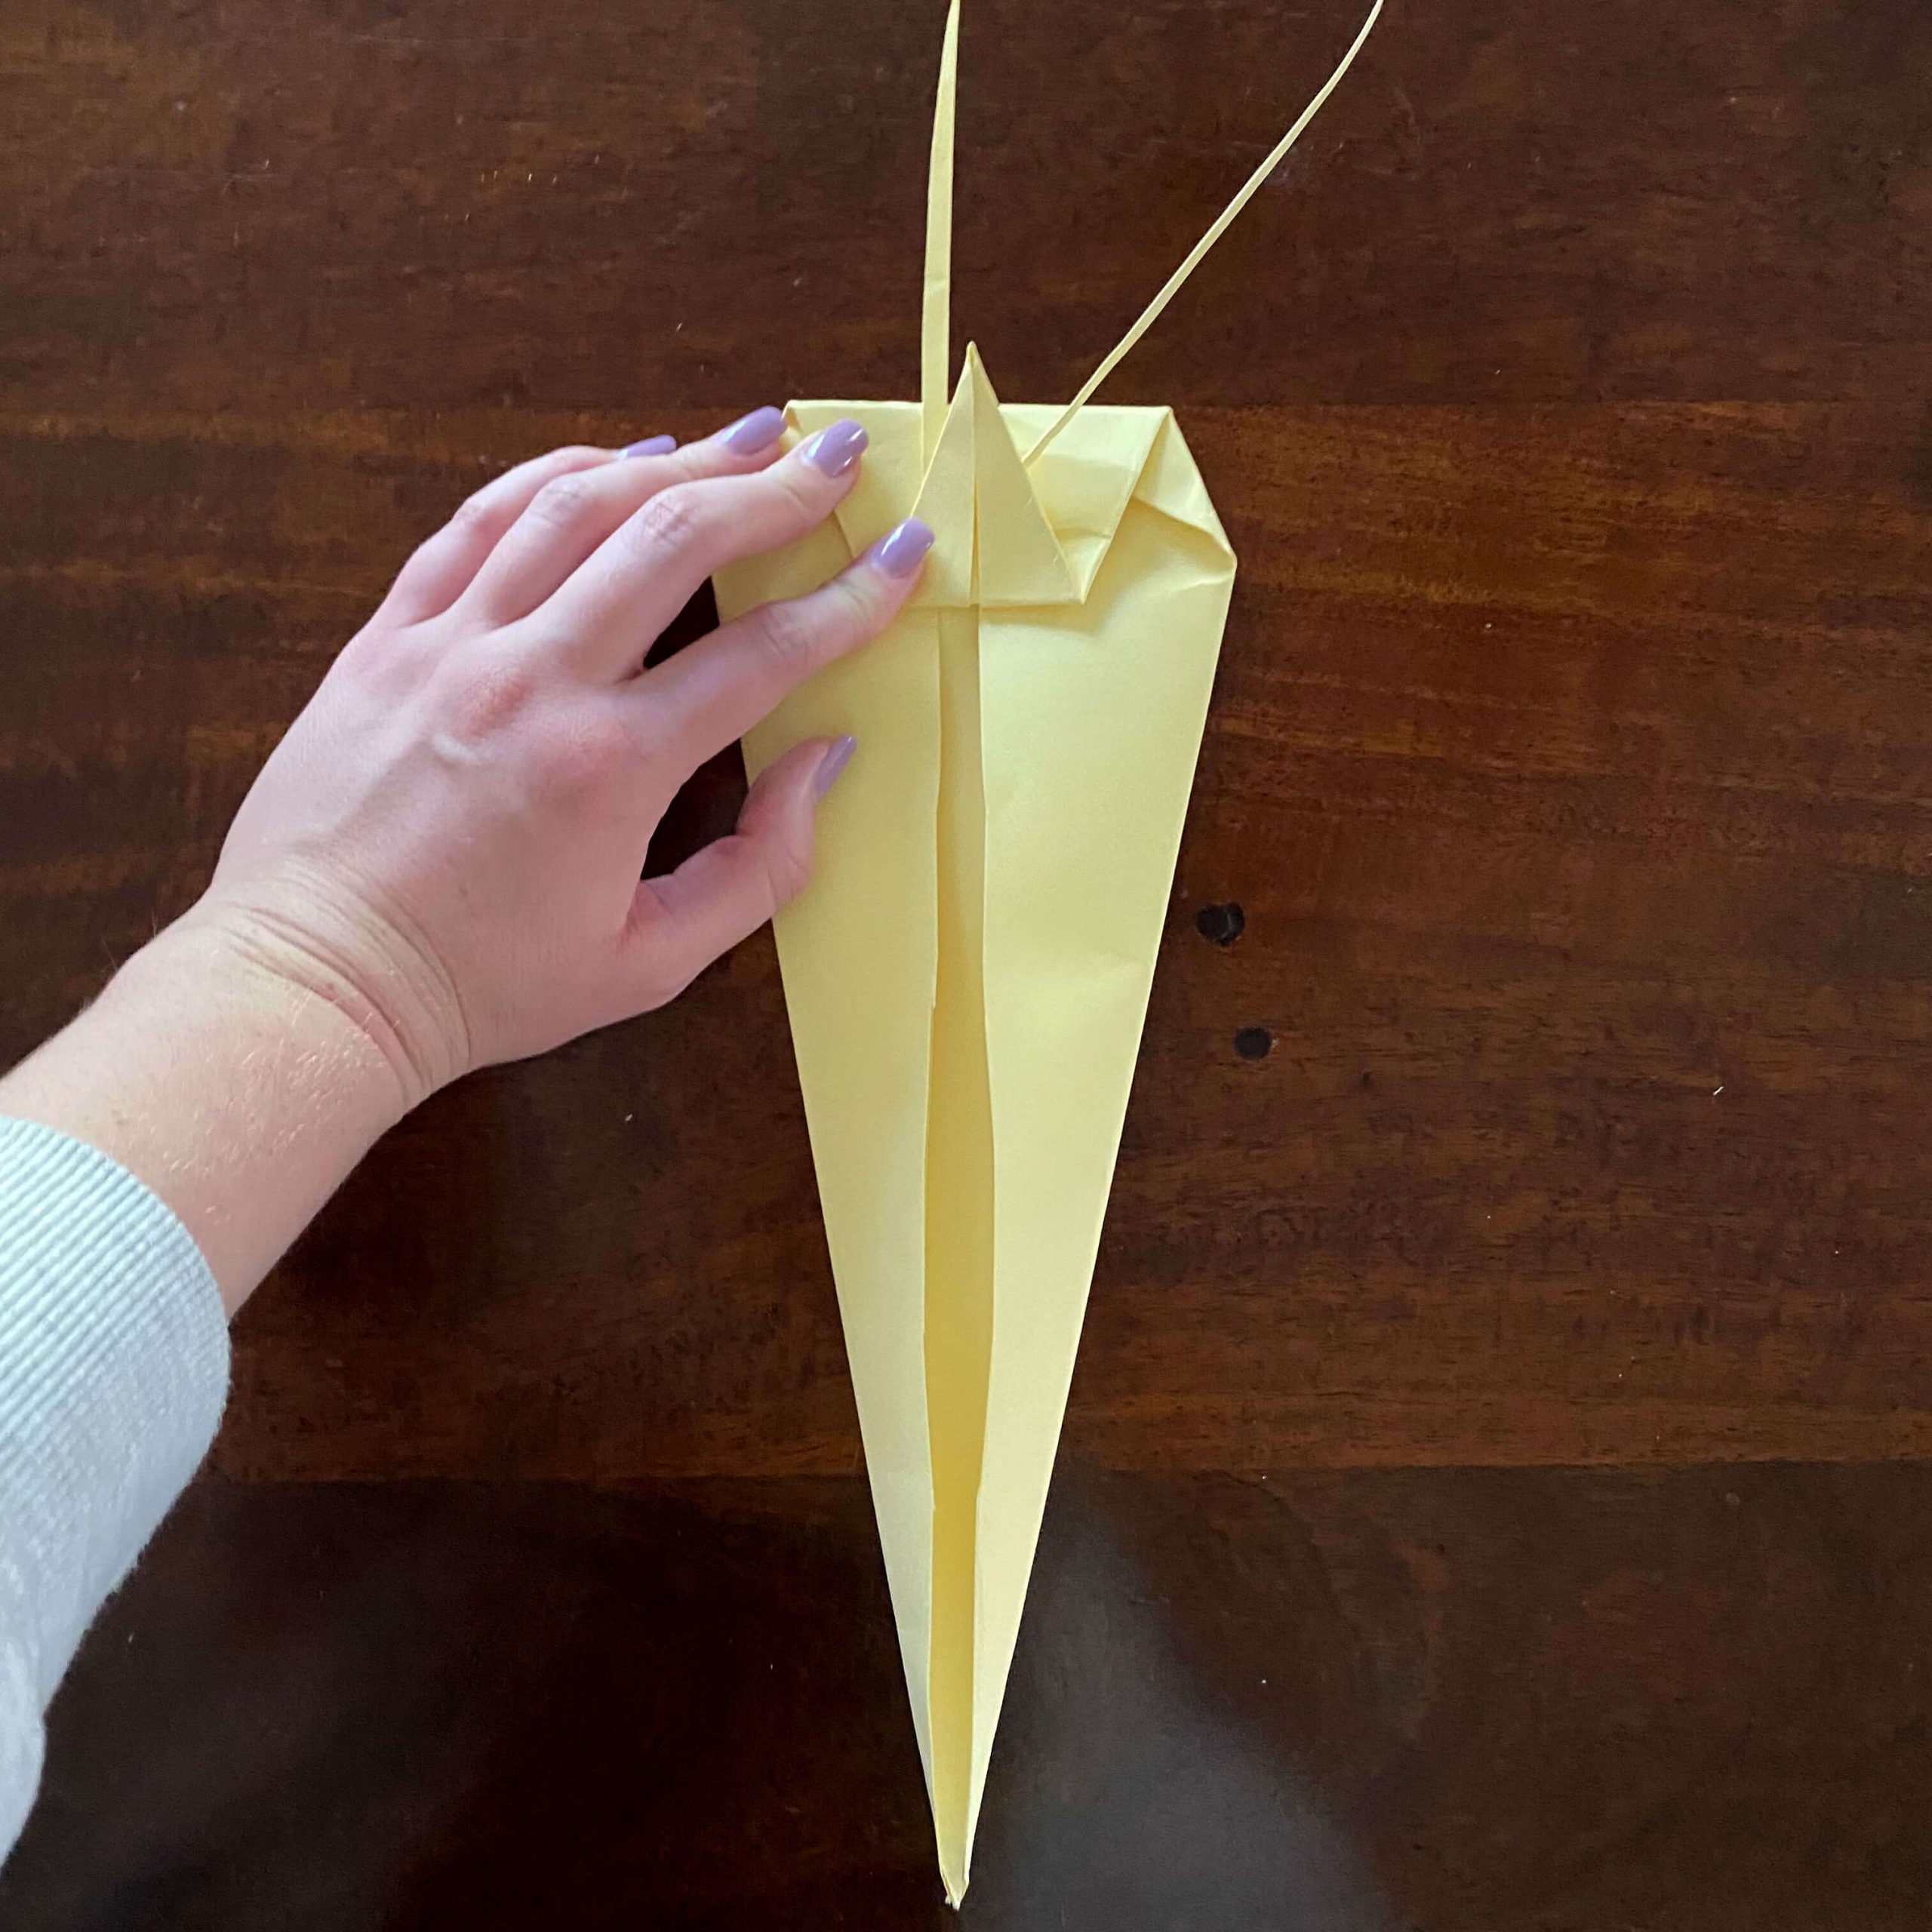
Step 11.
Fold the top portion down to form a triangle, then fold a portion of that triangle back up. This is the shrimp’s head!
Step 11.
Fold the top portion down to form a triangle, then fold a portion of that triangle back up. This is the shrimp’s head!
Step 12.
For the tail, repeat Step 12 with the bottom half of your origami so that it looks almost like an accordion.

Step 12.
For the tail, repeat Step 12 with the bottom half of your origami so that it looks almost like an accordion.
Step 13.
Fold your origami in half once more.

Step 13.
Fold your origami in half once more.
Step 14.
Lightly pull the folds of the tail out so that it becomes rounded.

Step 14.
Lightly pull the folds of the tail out so that it becomes rounded.
Step 15.
Draw 2 eyes on your shrimp with black marker.

Step 15.
Draw 2 eyes on your shrimp with black marker.